Are you tired of looking at the worn-out and dull tiles in your home? Are the grout lines between the tiles filled with stubborn stains that seem impossible to remove? It’s time to renew your old tile and grout and give your space a fresh, inviting look. This comprehensive guide will take you through the process of renewing your tile and grout, step-by-step. Whether you’re a seasoned DIY enthusiast or a novice homeowner, this guide will equip you with the knowledge and skills needed to revitalize your tiles effectively.
A Complete Step-by-Step Guide To Renew Your Old Tile And Grout
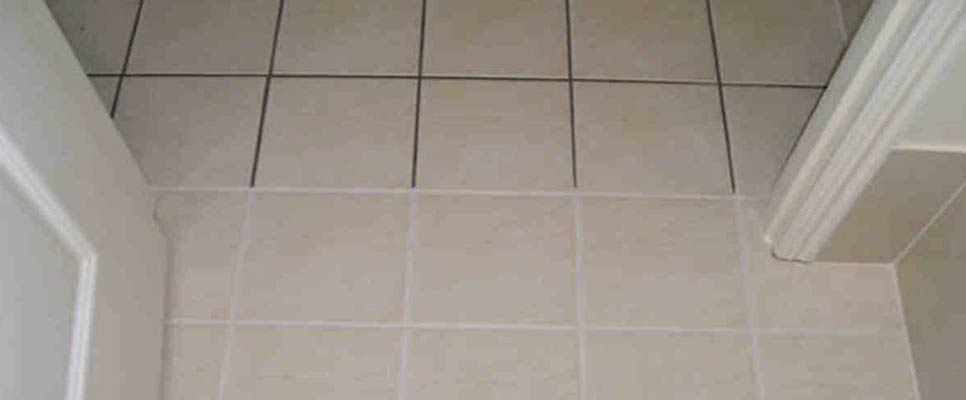
- Assessment and Preparation
Before diving into the renewal process, it’s essential to assess the condition of your tiles and grout. Check for cracks, chipping, or loose tiles that might need replacement. Gather all the necessary tools and materials for the job, such as grout saw, chisel, replacement tiles (if required), cleaning solutions, and safety gear. Ensure the surface is free from dust and debris to achieve better results. - Removing Old Grout
One of the critical steps in tile renewal is removing the old grout. This can be achieved using a grout saw or an electric grout removal tool. It’s essential to be cautious during this process, as using excessive force may damage the tiles. Take your time and work patiently, especially with stubborn grout stains. A clean slate is crucial for the success of the renewal process. - Choosing the Right Renewal Method
Depending on the condition of your tiles and grout, you have different renewal options to consider. Regrouting is an excellent choice when the grout is worn but the tiles are still in good condition. Resealing is essential for preventing future staining and water damage. In cases of irreparable damage, replacing tiles is the way to go. Consider the material of your tiles and the severity of the issues before deciding on the renewal method. - Regrouting the Tiles
Regrouting is an effective way to give your tiles a fresh look. Begin by mixing the grout according to the manufacturer’s instructions. Apply the new grout using a rubber float, pressing it firmly into the gaps between the tiles. Clean off any excess grout using a damp sponge, and let it cure for the recommended time. Once the grout is dry, buff the tiles with a clean cloth to reveal their renewed appearance. - Resealing the Grout
Sealing the grout is crucial to prevent dirt, stains, and moisture from seeping in. Choose a high-quality grout sealer and carefully apply it to the grout lines using a small brush. Wipe off any excess sealer and allow it to cure completely. Resealing not only enhances the appearance of your tiles but also prolongs their life. - Replacing Damaged Tiles
If your tiles are extensively damaged or cracked, it’s best to replace them. Carefully remove the damaged tiles using a chisel and clean the area thoroughly. Apply adhesive to the back of the replacement tile and press it firmly into place. Allow the adhesive to dry before grouting around the new tile. With the right technique, the replaced tile will seamlessly blend with the existing ones. - Cleaning and Maintenance
After completing the renewal process, it’s essential to clean the tiles and grout lines thoroughly. Use a pH-balanced cleaner to avoid damaging the newly renewed surfaces. Regular maintenance, such as sweeping and gentle mopping, will keep your tiles looking fresh for years to come. Avoid using harsh chemicals that can degrade the grout and tiles over time. - Enhancing Tile Appearance
If you want to take your tile renewal to the next level, consider using enhancers and colourants. These products can enhance the colour and shine of your tiles, giving them a brand-new appearance. Ensure you follow the manufacturer’s instructions carefully to achieve the desired results without causing damage. - Safety Considerations
Throughout the renewal process, safety should be a top priority. When working with chemical cleaners and tools, always wear appropriate safety gear, including gloves and eye protection. Make sure the area is well-ventilated to avoid inhaling fumes. In case of accidental skin contact or inhalation, follow the first aid instructions on the product labels.
DIY vs. Hiring Professionals
Deciding whether to embark on a DIY tile renewal or hire professionals depends on various factors. If you have experience in home improvement projects and feel confident in your abilities, a DIY approach can be cost-effective and rewarding. However, if the task seems overwhelming or you lack the necessary skills, hiring professionals ensures a high-quality and hassle-free renewal process. For Tile and Grout Cleaning Hobart services, you can contact us.
Eco-Friendly Renewal Options
If you’re environmentally conscious, you’ll be pleased to know that there are eco-friendly renewal options available. Choose biodegradable and non-toxic cleaning solutions to minimize the environmental impact. Additionally, consider using recycled or sustainable materials when replacing tiles.
Conclusion
Renewing your old tile and grout doesn’t have to be a daunting task. With the right tools, materials, and a little elbow grease, you can restore the beauty of your tiles and grout. Remember to assess the condition of the surfaces, gather the necessary supplies, and follow our step-by-step guide to achieve outstanding results.